Installing Jenkins – Continuous Integration with GitHub Actions and Jenkins-2
The next step involves creating a PersistentVolumeClaim resource to store Jenkins data to ensure that the Jenkins data persists beyond the pod’s life cycle and will exist even when we delete the pod.
To apply the manifest, run the following command:
$ kubectl apply -f jenkins-pvc.yaml
Then, we will create a Kubernetes Secret called regcred to help the Jenkins pod authenticate with the Docker registry. Use the following command to do so:
$ kubectl create secret docker-registry regcred –docker-username= \ –docker-password= –docker-server=https://index.docker.io/v1/
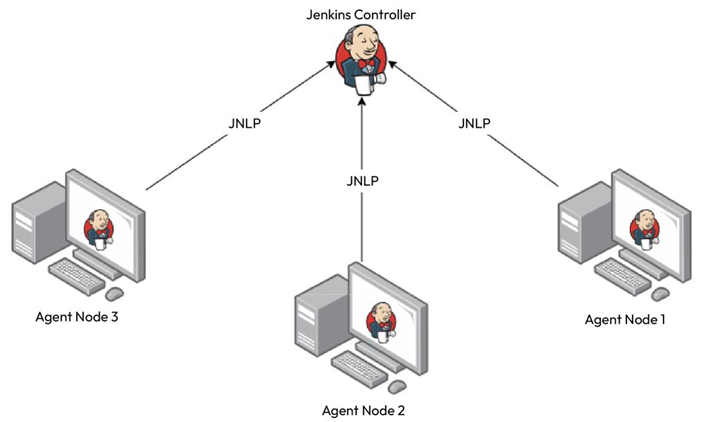
Now, we’ll define a Deployment resource, jenkins-deployment.yaml, that will run the Jenkins container. The pod uses the jenkins service account and defines a PersistentVolume resource called jenkins-pv-storage using the PersistentVolumeClaim resource called jenkins-pv-claim that we defined. We define the Jenkins container that uses the Jenkins controller image we created. It exposes HTTP port 8080 for the Web UI, and port 50000 for JNLP, which the agents would use to interact with the Jenkins controller. We will also mount the jenkins-pv-storage volume to /var/jenkins_home to persist the Jenkins data beyond the pod’s life cycle. We specify regcred as the imagePullSecret attribute in the pod image. We also use initContainer to assign ownership to jenkins for /var/jenkins_home.
As the file contains placeholders, replace with your Docker Hub user and with a Jenkins admin password of your choice using the following commands:
$ sed -i ‘s//actual_dockerhub_user/g’ jenkins-deployment.yaml
Apply the manifest using the following command:
$ kubectl apply -f jenkins-deployment.yaml
As we’ve created the deployment, we can expose the deployment on a LoadBalancer Service using the jenkins-svc.yaml manifest. This service exposes ports8080 and 50000 on a load balancer. Use the following command to apply the manifest:
$ kubectl apply -f jenkins-svc.yaml
Let’s get the service to find the external IP to use that to access Jenkins:
$ kubectl get svc jenkins-service
NAME EXTERNAL-IP PORT(S) jenkins-service LOAD_BALANCER_EXTERNAL_IP 8080,50000
Now, to access the service, go to http://:8080 in your browser window:
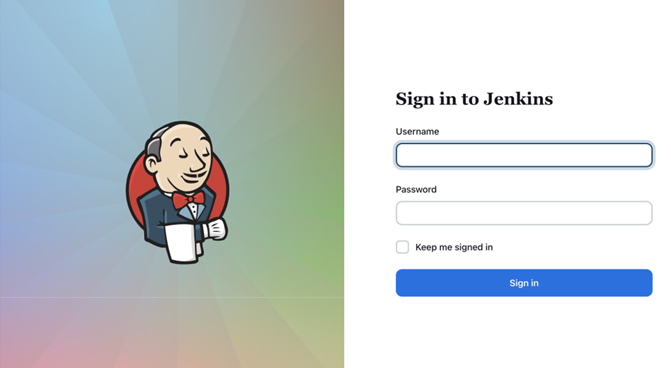
Figure 11.9 – Jenkins login page
As we can see, we’re greeted with a login page. This means Global Security is working correctly. Let’s log in using the admin username and password we set:
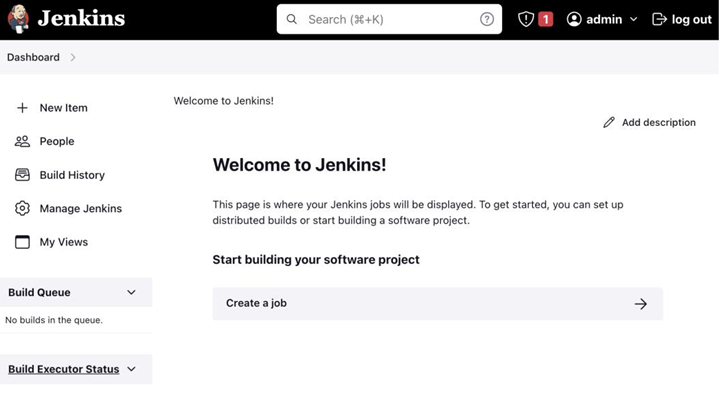
Figure 11.10 – Jenkins home page
As we can see, we’ve successfully logged in to Jenkins. Now, let’s go ahead and create our first Jenkins job.